Modern interiors often use glass hardware to create light‑filled spaces and clean lines. Whether you’re mounting a frameless shower door, hanging glass shelves or adding glass panels to cabinet doors, the right tools and techniques ensure both safety and beauty. This guide takes a DIY‑friendly approach to installing and caring for glass hardware and offers ideas for creative projects.
Tools and Supplies for DIY Glass Hardware Installation
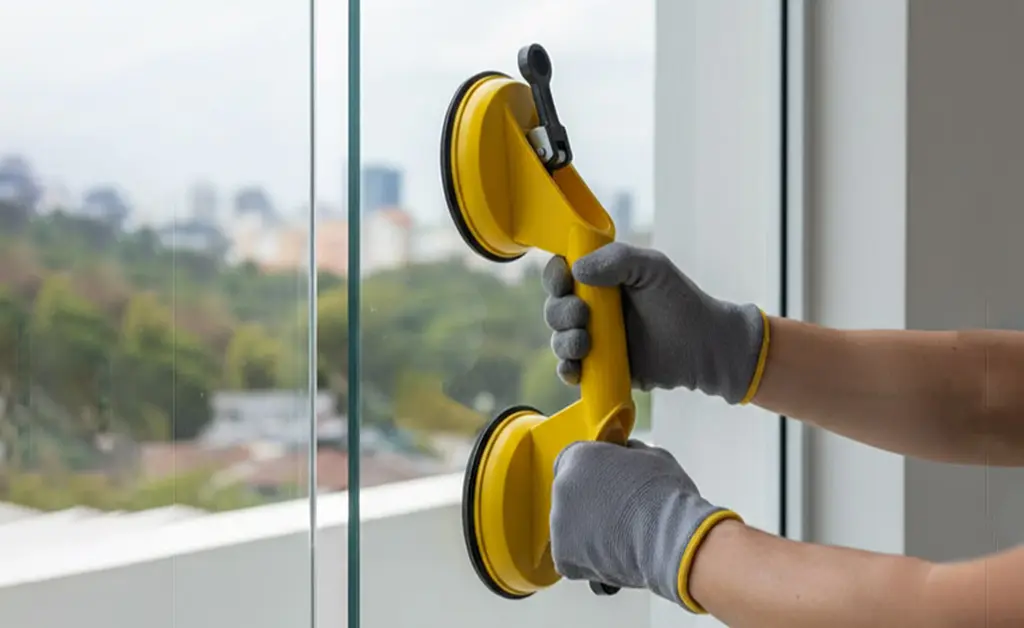
Before drilling into glass or framing, gather the right tools and materials. A tempered‑glass door requires hinges, a glass drill bit, a hinge template, a screwdriver, measuring tape and safety equipment such as gloves and glasses. Glass shelves need a measuring tape, masking tape, a pencil, a drill with the correct bit, a level, wall anchors, shelf brackets and silicone adhesive caulk. When adding glass to cabinet doors, collect a measuring tape, router (for removing fixed panels), drill or screwdriver, clamps, a custom‑cut glass panel, silicone adhesive, glazing points or retainer clips and wood stop moulding. For tempered glass panels mounted on walls or frames, you may also need rubber gaskets or bumpers, suction lifters and silicone sealant.
Step‑by‑Step Guide to Installing Glass Hardware
Prepare the Surface and Mark the Locations
Good preparation is key. Ensure that glass panels have correct cut‑outs and clean, polished edges. For wall‑mounted panels, clean the surface with alcohol, mark drilling points and confirm that surfaces are level and plumb. When installing hinges, mark the hinge positions on both the glass and the wall with a pencil or a hinge template.
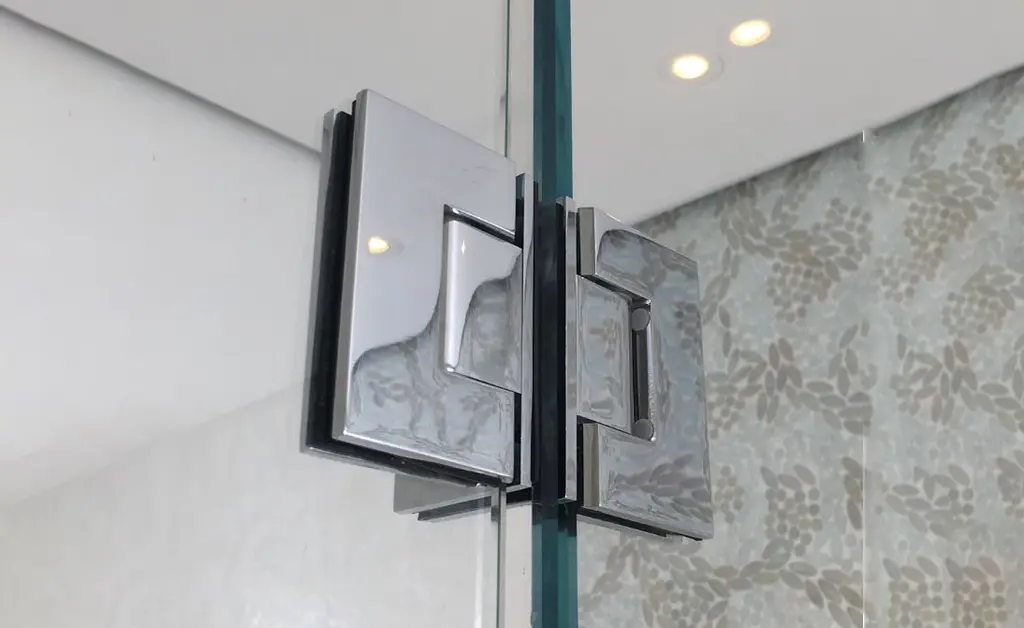
Mounting Hinges and Brackets
- Attach hinges or brackets to the glass. Use rubber gaskets between the hinge and glass to prevent scratches, then tighten screws until snug but not over‑tight. In DIY hinge installations, position the hinge on the glass, drill pilot holes using a glass drill bit and secure the hinge with screws.
- Mark and drill the wall or frame. Use a level to mark hinge positions on the wall. Drill mounting holes with the correct bit for your surface (wood, tile, drywall, concrete etc.), insert wall anchors and screw the hinges or brackets in place.
- Hang the glass and adjust. With assistance, lift the glass panel and set it into the brackets or hinge plates. Slowly tighten screws and adjust the hardware until the door swings smoothly or the panel sits securely. Check alignment and adjust hinges if necessary.
Installing Glass Clips and Door Stops
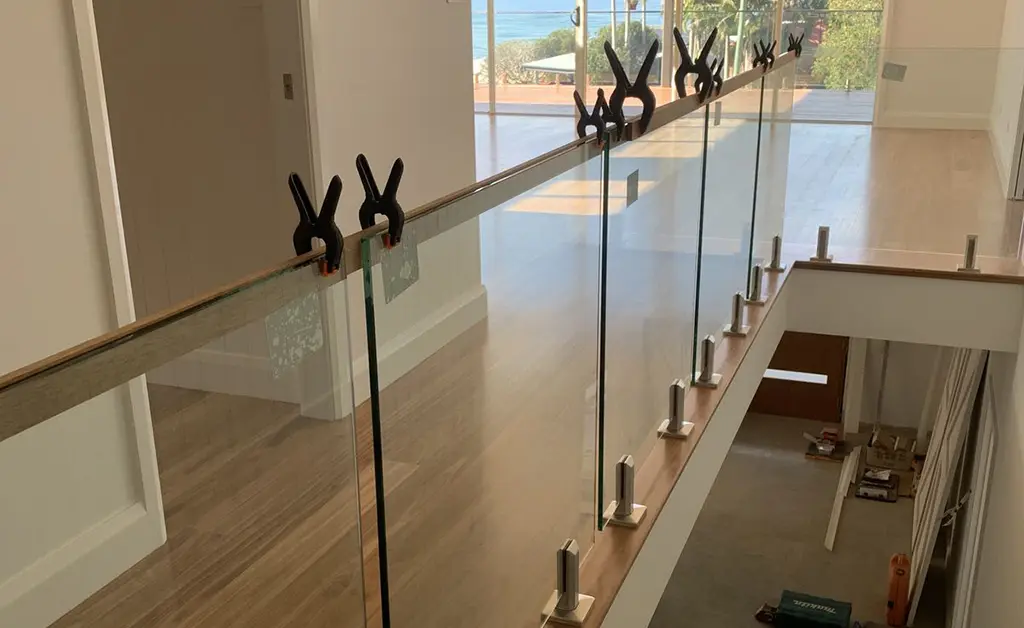
For stationary panels such as sidelights or railings, glass clips hold the glass edge rather than hinges. Position clips and mark their locations, drill holes, install the clips and insert the glass panel with rubber gaskets before tightening screws. Door stops prevent glass doors from swinging too far; mount them by identifying the stop location, marking the position and attaching the stop with adhesive or screws.
Installing Tempered‑Glass Panels
For large panels or shower doors, follow a structured process:
- Position the hardware. Use a pencil to mark where brackets, hinges or clips will sit.
- Drill mounting holes and install hardware. Secure brackets or hinges with screws.
- Add cushioning. Insert rubber gaskets or bumpers to protect the glass edges.
- Set the glass in place. Carefully lift the panel with help and place it in the mounts.
- Secure and seal. Tighten hardware and apply a thin bead of silicone along edges to waterproof shower doors.
For table‑top installations, clean the furniture surface, add silicone bumpers and gently set the glass top; avoid sliding the glass to prevent scratching.
Hanging Glass Shelves
To install glass shelves, measure and mark bracket locations about two inches from each end of the shelf and at the centre. Use masking tape to protect the wall and mark drill points with a pencil. Drill holes, insert wall anchors and attach the shelf brackets ensuring they are level. Place the glass shelf onto the brackets, check the level again and adjust if necessary. Distribute heavier items toward the centre of the shelf and apply silicone caulk to fix minor wall imperfections.
Post‑Installation Checks and Maintenance
After installation, inspect all hardware: check alignment, ensure hardware is tight, look for gaps, confirm the glass is chip‑free and wipe fingerprints with a microfiber cloth. For shower doors, apply silicone sealant to edges to prevent leaks. Regularly clean glass with a glass‑safe cleaner, avoid abrasive sponges, lubricate moving parts and replace worn gaskets or silicone seals.
Common Mistakes to Avoid
Many installation issues result from avoidable errors. Selecting hardware without confirming glass thickness, weight and type can lead to poor grip or hardware failure. Ignoring load ratings or structural requirements is risky, especially in balustrades and staircases; always consult manufacturer data and building regulations. Fixing hardware into an unsuitable substrate, such as screed instead of concrete, may cause movement or cracking; use appropriate anchors for concrete, steel or timber. Over‑tightening clamps stresses the glass and damages gaskets, while poor alignment creates gaps and constant stress on the hardware. Mixing incompatible components from different systems results in inconsistent finishes and reduced performance. In external or high‑moisture environments, specify materials like marine‑grade stainless steel to avoid corrosion. Finally, perform a final inspection before sign‑off; loose fixings or mis‑placed gaskets are easier to correct early.
Creative DIY Projects Using Glass Hardware
Floating Glass Shelves
Glass shelves create the illusion of floating objects and are ideal for displaying collectibles or bathroom essentials. Follow the installation steps above and ensure that wall anchors and brackets are rated for the shelf’s intended weight. Glass thickness for shelves typically ranges from 1/4″ for small shelves to 3/8″ or 1/2″ for larger or heavier applications. Distribute weight evenly and place heavier items near the centre to prevent stress on the brackets.
Glass Room Dividers
Glass room dividers can separate spaces while maintaining light and openness. Framed partitions provide a defined edge and durability, whereas frameless partitions offer a sleek, modern look. When planning a room divider, consider glass thickness (3/8″ to 1/2″), customisation (number of panels and entryways) and whether the divider should be temporary or permanent. Temporary options include fabric screens or portable panels, but permanent glass partitions require accurate measurements, level marking, sturdy brackets and proper fastening. Hanging panel systems suspend glass from the ceiling, creating dramatic divisions without occupying floor space.
Adding Glass Panels to Cabinet Doors
Swapping a wood panel for glass lightens and modernizes cabinetry. Many recessed cabinet doors can be retrofitted with glass. Remove the door from its hinges and place it on a flat surface. Remove the existing centre panel by prying off the back trim or routing out the inner lip. Measure the opening precisely and subtract 1/16″–1/8″ from width and height to allow for expansion. Dry‑fit the glass panel and then secure it using one of three methods: glass retainer clips (spaced every 6–8 inches), wood stop moulding painted or stained to match, or a thin bead of silicone adhesive for cushioning. Reinstall the door and check alignment and hinge tension. Common mistakes include ordering incorrect measurements, installing glass too tightly, skipping cushioning, over‑tightening clips and choosing glass that is too thick for the frame.
Tips for Safely Removing and Replacing Glass Hardware
Removing existing glass doors or panels requires caution. When dismantling a tempered‑glass hinged door, cordon off the work area, tape both sides of the glass surface, apply suction lifters and plan how the panel will be moved. Remove covers on fittings to locate adjusting screws, mark supports and brackets, then carefully unhook the door leaf and transfer it to a transport rack. Dismantle fittings, seals and guides and collect small parts separately. Package the glass with edge protection and secure the load before transport. Common mistakes during removal include releasing the door leaf before supporting its weight, striking glass edges to loosen them or unhooking sliding doors in the wrong sequence. Applying suction lifters, following the correct order (unhook the glass before removing guide tracks) and avoiding excessive force minimise breakage.
Conclusion
With the right tools and careful planning, DIY enthusiasts can successfully install glass hardware and transform spaces with floating shelves, modern room dividers or glass‑fronted cabinets. Preparing surfaces, following systematic installation steps and checking hardware ensure safety and longevity. Avoid common mistakes by verifying glass specifications, respecting load ratings and performing final inspections. Creative glass projects add light and sophistication to any home, while safe removal practices protect both the installer and the glass. By mastering these techniques, you’ll unlock the versatility of glass hardware and elevate your home or office design.